1. get all the materials and tools you'll need together:
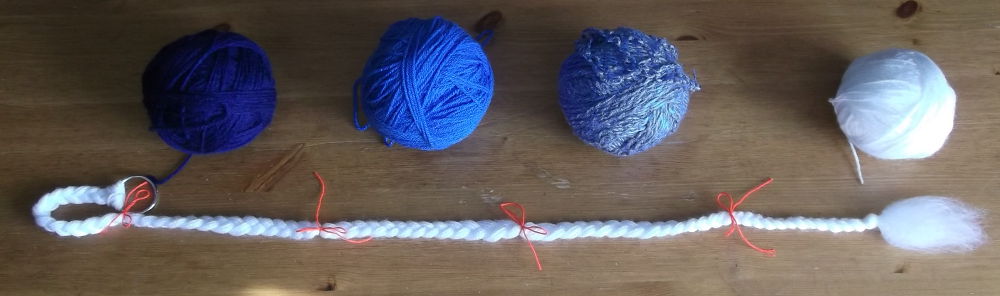
* yarn (acryl-yarn for size 3-5 hook/needle)
* sharp scissors with fine blades
* dog- or cat- brush with iron pins
* sewing needle and threat in the start-color
* hook matching your yarn-thickness
* big ring that can open


3. loop those 12 strings onto the ring, so you can get them off very easy when the tail is (almost) done. hang that ring onto something sturdy and start to braid the yarn. when you got to the end of it, make a sturdy knot and cut the ends even.


4. brush that end-part until it's nice, soft and very fluffy. take that fluff of your brush now and then. that fluff you can use for stuffing things or for needle-felting. ~_^


5. now it's time to decide how and where you want the colors of your tail. you can do this by tying a total different color of yarn (mark) around the braid. also put a mark where the belt-loop is going to start.


8. make a knot in the middle of those strings. you'll need 4 fluffs for each 'turn'.


9. now it's time to decide if you want 'straight' lines/stripes (pic 1) of if you want to 'fade the colors (pic 2).


10. for straight lines/stripes you'll make all the fluffs using only the color for that line/stripe.

- 10 strings of color 1
- 8 strings of color 1 + 2 strings of color 2
- 6 strings of color 1 + 4 strings of color 2
- 4 strings of color 1 + 6 strings of color 2
- 2 strings of color 1 + 8 strings of color 2
- 10 strings of color 2


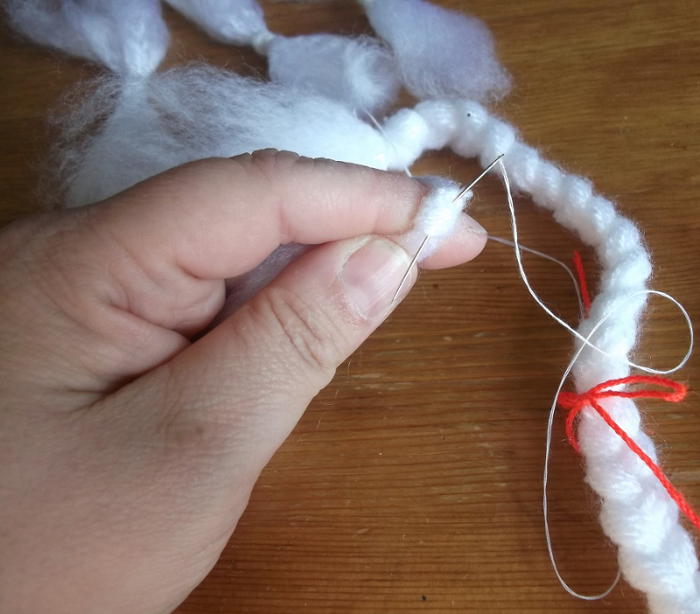
12. now you know how your tail is going to look like, it's time to make all those fluffs, brush them and sew them onto the braid. brush each fluff starting at the smallest end until they are nice, soft and very fluffy. put already a piece of threat into your needle, double it and make a big knot at the end.


13. put your needle through the knot from the braid. take your fluff, fold it double so you can see the knot. put your needle thru the knot and sew the fluff onto the knot of the braid. repeat this 4 times (you'll need 4 fluffs for each 'turn'). after each 'turn' (or 2) brush the fluffs that are sewn in.


14. continue this until you get to about 2 cm from your mark. if you want straight lines/stripes, just continue till you are at the mark.

15. when you are about 5 cm from your last mark, you are going to make the belt-loop. for this you need to know a 'single crochet'. remove the ring from the braid and use those loops to make your belt-loop. then you crochet (in your last color) around the braid. if needed crochet around it a second time if you still see the braid-color.


16. continue sewing in the fluffs until you have no more braid showing. those last 4 fluff will be different. take a string from each side and brush the rest of them. using those 2 strings, knot them around the base of the belt-loop.


17. then brush those last strings (from each fluff) and a finale brush over the whole tail and it's done. all those fluff that came out of the brush can be used to stuff thing or for needle-felting. ~_^

Geen opmerkingen:
Een reactie posten